DIY Wood Slat Wall

If I could make all the walls in my house slat walls, I would.
As far as DYI projects go, I found this one to be deceivingly difficult. I mean, I watched so many other super cool DYI-ers do wood slat walls and they made it look so easy — get a piece of wood, rip it into strips, nail it onto the wall. Easy!
Except the wall I chose was in my bathroom, and it has a window smack-dab in the middle of it. And, as I started to consider the width and spacing of my slats, I quickly realized that the window would impact both in a pretty substantial way — if the slats weren’t properly spaced, it would mean that I’d need to notch out the slats around the window to maintain proper spacing across the expanse of the wall. And, I definitely didn’t want that. So let me rephrase, this project is easy if you don’t have to factor in obstructions like windows….
At this point, I’d love to tell you that I had this super intelligent and scientific way or figuring out the slat spacing… but, I can’t.
From a visual and aesthetic standpoint, I was gravitating towards 1 inch slats and approximately 1/4 inch spacing. But, working at this somewhat small scale, it also meant that I had much less wiggle room in terms lining up the spacing of the slats around the window. At this point, I’d love to tell you that I had this super intelligent and scientific way or figuring out the slat spacing… but, I can’t. I simply, measured the width of the window and divided that by 1.25 inches (the width of 1 slat and space, and yes, I converted my inches to metric because it made the math easier) to find out approximately how many slats would fit. Of course, there was a decimal, and someone better at math might be able to tell you what to do with it but that won’t be me. Honestly, I just ignored the decimal. Moving on now, because I ended up with an odd number (and not an even number), I knew that I’d have to start with 1 slat in the centre of the wall/window and work my way out from there. So I found my centre and cut the number of slats that would need to fit above the window. I then tapped them up to see whether or not I was happy with the look and spacing. Turns out, it was perfect and the slats aligned perfectly to the edges of the window.

Since the window is the focal point on the wall, I made sure to centre the slats around it.
To figure out how many slats I needed, I took the horizontal measurement of my wall and divided that number by the sum of 1 slat width plus 1 spacing width.
With that part figured out, I did the same calculation with the entire width of the wall, divided by 1.25 to find out how many slats I would need all together. Again, I ignored the decimal here. The whole number is all that really matters (unless you’re a person who knows what to do with the decimals). By subtracting the number of slats around the window, I also knew how many full 8 foot lengths I’d need (as opposed to cut pieces around the window). This was important to know because it turns out that managing a 4x8’ piece of 3/4” plywood on a table saw is really difficult. From there, I was able to cut down my sheet of plywood into more manageable pieces — full lengths, short pieces for the top, and half pieces for the bottom — and cut my slats from there.
Once I got all the slats cut, I sanded down all the edges since there was some tear out even though I was using a finishing blade on the table saw. After sanding, I tested a few stain options on some scrap pieces and I landed on wood conditioner with Special Walnut by Minwax. Some people swear by wood conditioner. So far, I have found I that sometimes it makes a difference, and sometimes it doesn’t. In this case, with this type of plywood, it really helped the stain colour look consistent and not blotchy. And it also made the wood grain come through in a better way than without it.
Some people swear by wood conditioner. So far, I have found I that sometimes it makes a difference, and sometimes it doesn’t.
One of the other problems I ran into with this project was that I ran out of stain with about 1/2 of my slats done — even with the wood conditioner, the plywood was soaking up so much of the stain. This ended up being more of a problem than you might think. For whatever reason I could not find more of my stain anywhere. Finally, on my 4th hardware store, I found a single dented can at the back of the shelf in the stain section. You may have heard other people say that when you’re using multiple cans of paint or stain for a project, you should mix them together to ensure that any variation in the colour is neutralized. Well, I learned this lesson the hard way, because as relieved as I was to have finally found a can of Minwax Special Walnut stain after hours driving around, my enthusiasm quickly turned to dread once I finally got home and threw 2 coats of stain on the last 1/2 of my slats only to realized that they were actually different tones than the rest of my previously stained pieces. By now, I was already over a week deep into this project and didn’t want to start over. So, I hedged my bets on the idea that if I mixed the two tones of slats together randomly enough, the variation in colour wouldn’t be so noticeable and might even appear natural. I pressed on and sealed all my slats with Behr Water Based Polyurethane in a matte finish.
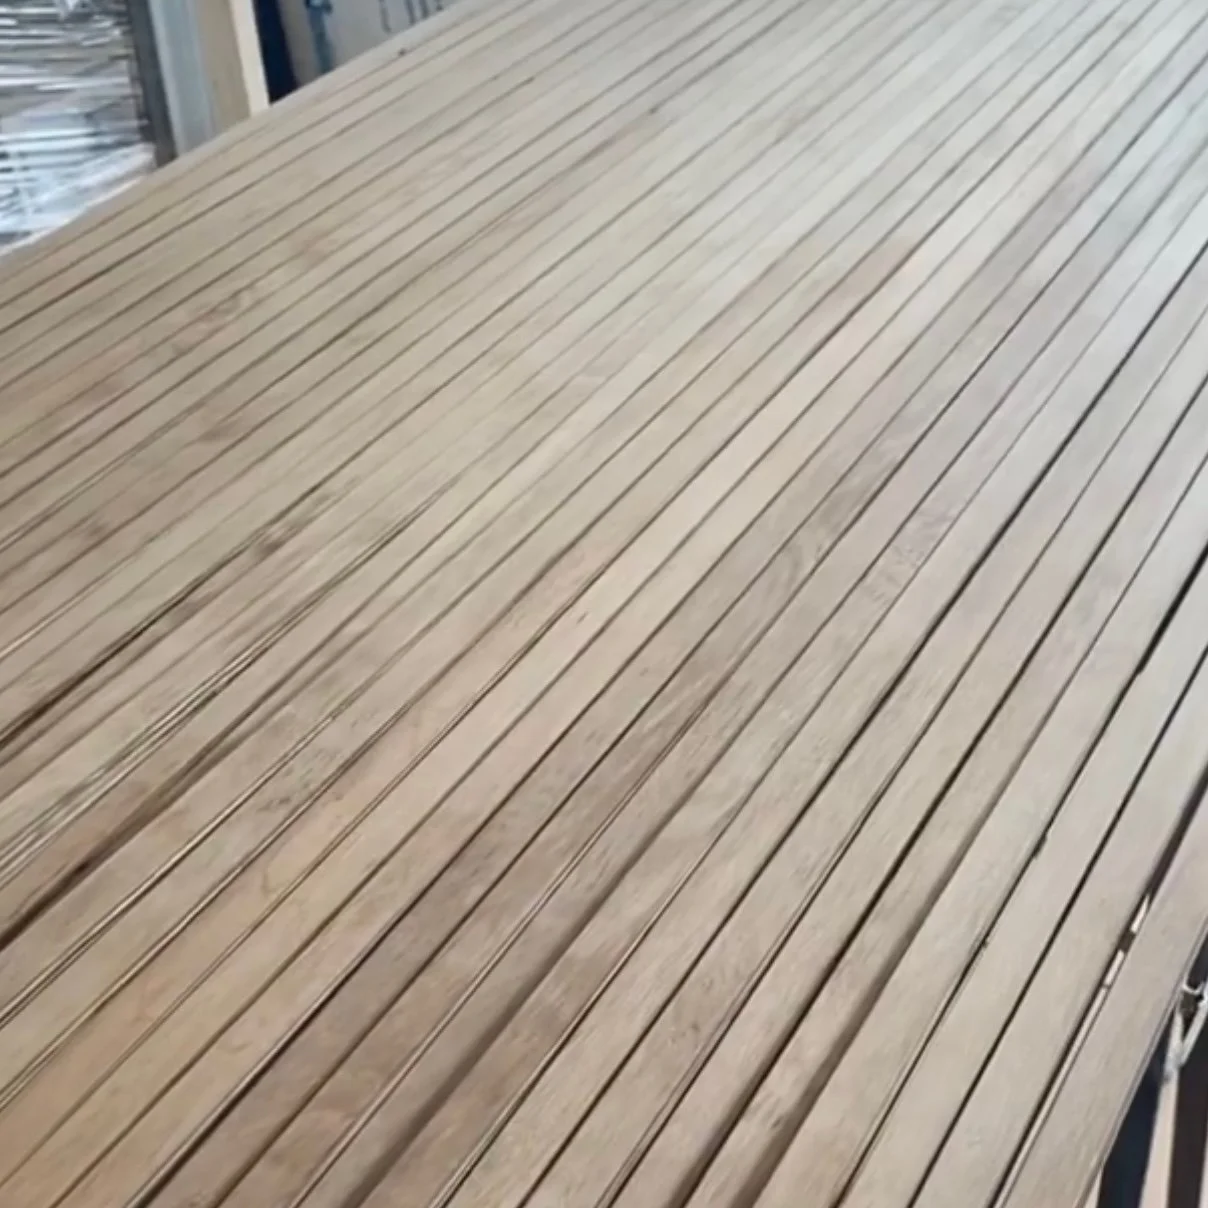
It’s certainly subtle in this picture but if you look closely enough, you will notice that the half of slats closest to the right (foreground) of the image are slightly lighter in tone than those to the left.
Before I could actually install the slats though, I had to paint the wall black (I used Behr Scuff Defense in Behr Black and a flat finish — for the bathroom, I liked that Scuff Defense has antimicrobial properties and I already had a quart on hand so it was pretty convenient). Now, if you’ve researched DIY slat wall projects, you might have seen that some people use liquid nails to mount the slats to the wall. I opted not to because the width of my slats were so narrow, I didn’t want to risk having excess product squish out the sides. I felt like trying to clean liquid nails from 1/4” spacing would be frustrating and messy. Instead, I stuck to using only Brad nails. It also meant that, if I ever change my mind on this wall (I won’t but just in case…), I will only need to patch the nail holes rather than fully repair the drywall. Liquid nails, on the other hand, can be pretty destructive to drywall if you try to remove it.
To attach my slats to the wall, I used 1 1/2” brad nails because the depth of my slats are 3/4” and my drywall is 1/2”, for a total of 1 1/4” deep. Because I was only using nails, I wanted to make sure that the slats would be really secure and that the nails would penetrate the full depth of the materials. I also knew that there were no electrical or plumbing lines in this wall, so I wasn’t worried about puncturing anything. As an additional measure of security, I shot some of my brad nails in at criss-crossing angles — either slightly up or slightly down.
One tip I think is worth sharing is: if you decide to stain your pieces prior to attaching them to the the wall, I suggest trying to sink your nails as consistently as possible, both vertically and horizontally across all pieces. The reason for this is that, I had planned on filling the nail holes but I decided to scrap it when the colour of 2 wood fillers I tried just didn’t look right. In the end, I left the nail holes visible because from more than a few feet away, they completely disappear. Saying that, when you are close to the wall, you can see the holes and, being as meticulous as I am, I would have preferred the nail holes to be evenly set. But that’s just me… If, you happen to be using thinner, wider slats, or larger spacing, or if you’re painting them rather than staining them, filling the nail holes should be a much simpler task.

And this is the finished result! Although I said that this project was deceivingly difficult, primarily due to managing these long thin cuts on a table saw from a large and heavy sheet of plywood and all the math (which is admittedly not my strong suit), I would do this project again and again because the impact is just too good!
Project Recap
These are some of the products I used to complete this DIY Wood Slat Wall project.

Dewalt 20V MAX XR Lithium-Ion Cordless Brushless 5-inch Random Orbital Sander
Ryobi 14-Amp 10-Inch Compound Mitre Saw with LED
Rigid 10-inch Pro Jobsite Table Saw with Stand
Ryobi 18V ONE+ AirStrike 18-Gauge Cordless Brad Nailer
Behr Ultra Scuff Defense Interior Extra Durable Flat Paint & Primer
HDX 9-Piece Foam Brush Set
Minwax Pre-Stain Wood Conditioner
Minwax Wood Finish Oil-Based Penetrating Stain, Special Walnut
Behr Fast-Drying Water-Based Polyurethane, Matte
The approximate material cost for this project was $200*
*Since I completed this project, the cost of materials has continued to increase due to the pandemic. As a result, I’m sharing approximate cost for the materials only (plywood, brushes, paint, wood conditioner, stain, polyurethane). The cost of the power tools have not been factored in.